How To Install Shelf In Kitchen Cabinet : How to Build a Cabinet With Shelf Pegs | eHow - Also check the clearance of cabinet doors, drawers and hinges.
How To Install Shelf In Kitchen Cabinet : How to Build a Cabinet With Shelf Pegs | eHow - Also check the clearance of cabinet doors, drawers and hinges.. Most pullout shelves feature a shallow lip around the edge so that. If we just did the sides, eventually they might sag in the middle. Buy wire baskets to fit the size of your cabinets. If needed, insert a shim to make it level and flat to the wall. The side cleats will overhang on the cabinet side.
Using a level, we then screwed them to the cabinet sides and wall. Place the liner on the shelf and smooth it out. These are the materials i used to make extra shelves for my kitchen cabinets out of plywood. Because of the space taken up by the mechanism and the shelf boxes, this is not a good project for a narrow cabinet. If you want to do several layers of shelves, it is best to start with bottom sliding shelves and move to the middle or top only when you know you will have space for several racks.
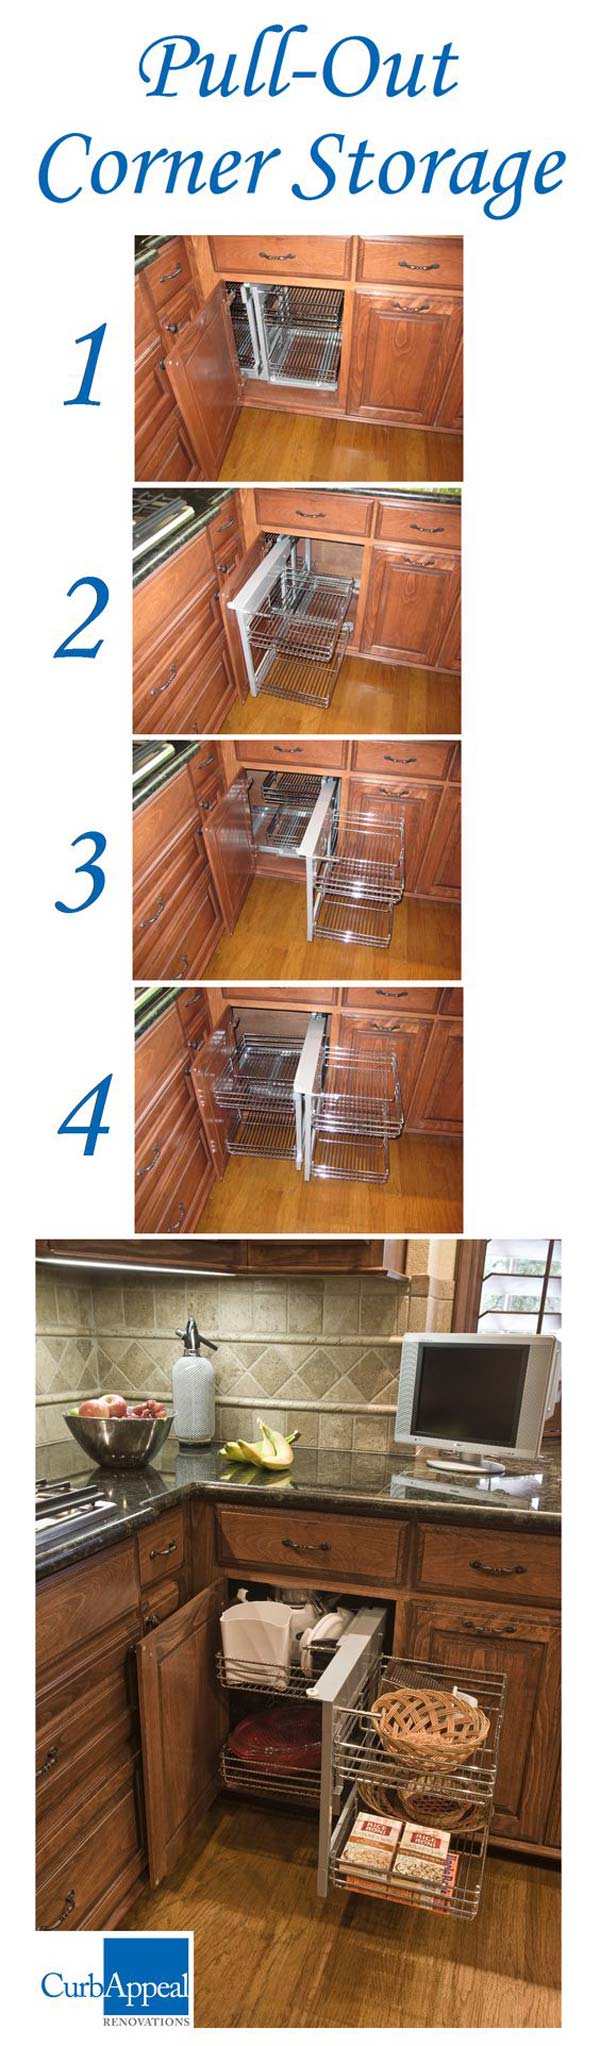
Upper Kitchen Cabinets or Open Shelves for Your Kitchen from cdn.bestonlinecabinets.com Set the glides in place in your cabinet with the wheels facing towards the front, the glides are marked cr and cl then set your slide out shelf with the front tipped up slightly in place by lifting the wheels at the rear of the shelf over the wheels on the front of the cabinet glides. Take the backing off of your contact liner paper and carefully place it on your shelf. To install wire baskets in your kitchen cabinets: The quiktray rollout system is available online from quickdrawers.com. Floating kitchen shelves are diy friendly, affordable & customizable. This will support the weight evenly. Be sure to verify the depth and order that correct size, too. Remove the cabinet doors, if needed, for better access.
Place the corner wall cabinet on the screws or ledger.
Place the corner cabinet into position on the wall stud marking. Some can also mount to the inner left and right side walls of the cabinet. Build these shelves yourself and save! Hold these wood braces flat against the walls of the cabinet so that the top edge of the lumber follows the lines. Push the drawer slides closed. This is ideal for those who have high cabinet and want to store items below the pull down. Then, check the dimensions of cabinet organizer to make sure it will fit. Perfect for kitchen, pantry, bath or garage cabinets. Order the sliding shelves that fit your cabinets. A pull out shelf, also known as a glide out shelf, roll out shelf or slide out shelf, is a shelf that can be moved forward on slides (also known as rails) that allow each shelf to extend from the cabinet to maximize storage and accessibility at the back of a cupboard or cabinet. If needed, insert a shim to make it level and flat to the wall. Most will simply mount to the base of the cabinet floor with screws on the front and back of the pull down. This will support the weight evenly.
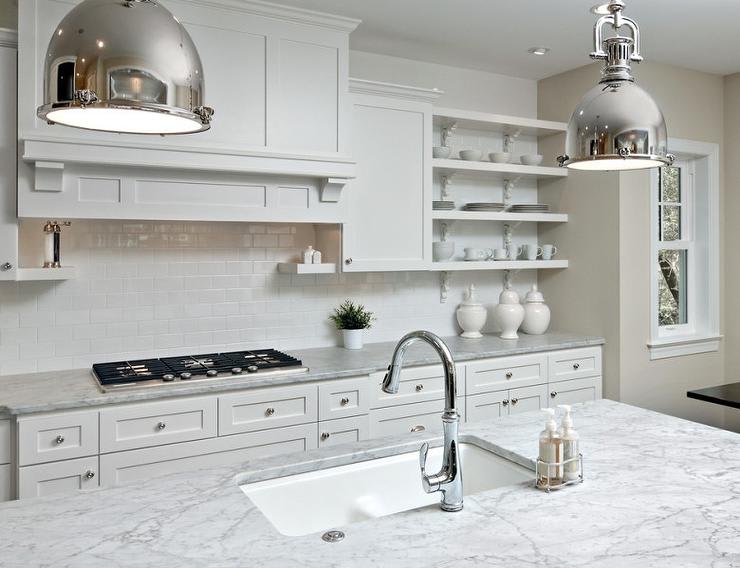
Place the corner wall cabinet on the screws or ledger. Remove the cabinet doors, if needed, for better access. Set the glides in place in your cabinet with the wheels facing towards the front, the glides are marked cr and cl then set your slide out shelf with the front tipped up slightly in place by lifting the wheels at the rear of the shelf over the wheels on the front of the cabinet glides. Here's the space between the wall mounted cabinets. Most will simply mount to the base of the cabinet floor with screws on the front and back of the pull down.
Fabulous Hacks to Utilize The Space of Corner Kitchen ... from www.woohome.com Next, hold the shelf just outside of the cabinet and level with the drawer slides. The quiktray rollout system is available online from quickdrawers.com. Remove the cabinet doors, if needed, for better access. For a regular kitchen cabinet a 3/4 extension slides puts items that are in the back of the cabinet with the shelf closed, up to where the front items were after the shelf is extended. Place the corner cabinet into position on the wall stud marking. Floating shelves offer a lot of flexibility to a home owner, not only in design, but also in affordability and customization. Go over the liner with a squeegee to eliminate any bubbles or wrinkles. A pull out shelf, also known as a glide out shelf, roll out shelf or slide out shelf, is a shelf that can be moved forward on slides (also known as rails) that allow each shelf to extend from the cabinet to maximize storage and accessibility at the back of a cupboard or cabinet.
Place the corner cabinet into position on the wall stud marking.
I'm making two lists of supplies since i tried two different types of diy kitchen shelves. Set the glides in place in your cabinet with the wheels facing towards the front, the glides are marked cr and cl then set your slide out shelf with the front tipped up slightly in place by lifting the wheels at the rear of the shelf over the wheels on the front of the cabinet glides. Just measure, cut, assemble and install! In other words 3/4 extension slides make the back of your kitchen cabinet accessible. Because of the space taken up by the mechanism and the shelf boxes, this is not a good project for a narrow cabinet. Hold these wood braces flat against the walls of the cabinet so that the top edge of the lumber follows the lines. If the cabinet isn't plumb, slip shims between the cabinet and wall at the stud lines and adjust as necessary. Nail cleats to the tops of the cabinets to elevate the shelf. This will support the weight evenly. Floating shelves offer a lot of flexibility to a home owner, not only in design, but also in affordability and customization. A ledger is a board that helps support the cabinetry as you work. Mark the dimensions and cutting lines. 4 remove the shelves from the packaging.
The side cleats will overhang on the cabinet side. If your measurement is 25.5″ wide, then you'll order 25″ shelves, which will be slightly less than 25″, but will be the right size for your cabinets. If you need a refresher on how to take accurate measurements, watch our video on how to use a tape measure. Of space on each side for the side cleats. In other words 3/4 extension slides make the back of your kitchen cabinet accessible.
How To Install Kitchen Cabinets - Installing Base Cabinets ... from i.ytimg.com Because of the space taken up by the mechanism and the shelf boxes, this is not a good project for a narrow cabinet. 8 raise the first shelf into place and replace the hardware that holds it. Place the liner on the shelf and smooth it out. Floating kitchen shelves are diy friendly, affordable & customizable. Put a small blob of reusable mounting putty in each corner of the cabinet before placing in spongy or plastic liner to secure it. Set the glides in place in your cabinet with the wheels facing towards the front, the glides are marked cr and cl then set your slide out shelf with the front tipped up slightly in place by lifting the wheels at the rear of the shelf over the wheels on the front of the cabinet glides. We started with a few scrap 1x2s cut to fit the shelf. Nail cleats to the tops of the cabinets to elevate the shelf.
Slide the shelf slowly all the way inside the cabinet.
This is ideal for those who have high cabinet and want to store items below the pull down. If the cabinet isn't plumb, slip shims between the cabinet and wall at the stud lines and adjust as necessary. Order the sliding shelves that fit your cabinets. These are the materials i used to make extra shelves for my kitchen cabinets out of plywood. Mark the dimensions and cutting lines. If needed, insert a shim to make it level and flat to the wall. Remove the shelf from the cabinet diagonally. Brand new and great video!!!: Order the size that is the whole number inches closest to your size. If you want to do several layers of shelves, it is best to start with bottom sliding shelves and move to the middle or top only when you know you will have space for several racks. Carefully but firmly push the shelf all the way into the cabinet. Measure the width and depth of the cabinet opening. Slide the shelf slowly all the way inside the cabinet.